With the Transaction Pro Exporter and Importer tools, you can get data from one company and combine it into another company file. This is especially handy if you are part of a merger or acquisition. To complete this, it does take a working knowledge of how QuickBooks works and how the data flows through the company files. If you are not proficient, I recommend reaching out to a partner to work with on this type of project.
Transaction Pro Exporter:
Open the QuickBooks company file for the company that you want to pull the data from.
Open Transaction Pro software. Once you open the software then it will connect to your company file.

When prompted to trust this software, select “Prompt each time” and click Continue.

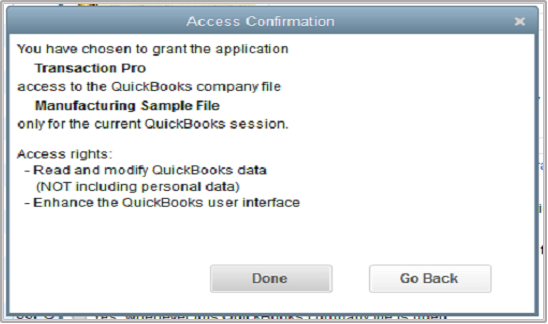
Confirm the Access of TPI to the Company file.
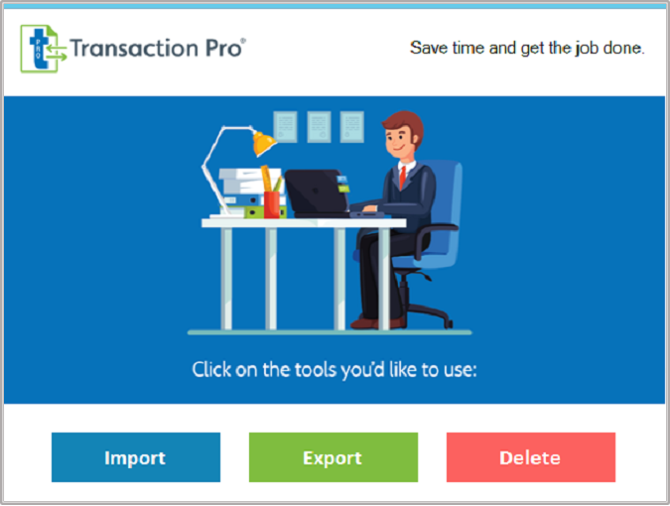
Select Export.
Select from the transaction types what you need to export to combine.
Select the date range that you want to export the information.
Select Retrieve Data to populate the preview.
Confirm that you have the Excel file type selected (done by default).
Click Export to File.

Open the file in Excel and validate the data. Make sure that what was exported is correct and that the columns align with the available data.
Repeat this for each type of transaction.
Exit when all Export Types have been completed.
Select Import.
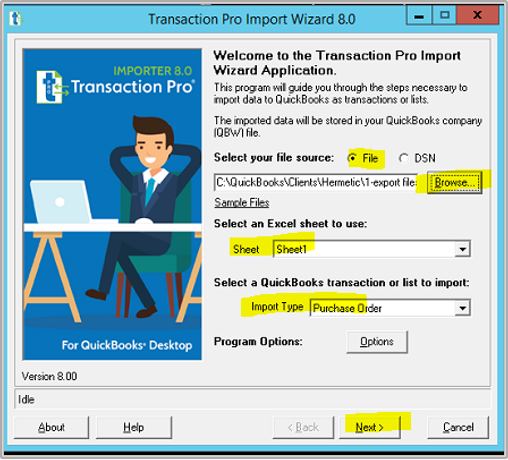
Browse to find the files that you have exported and validated.
Select the Sheet.
Select the Import Type. This will match the export type.
Click Next.
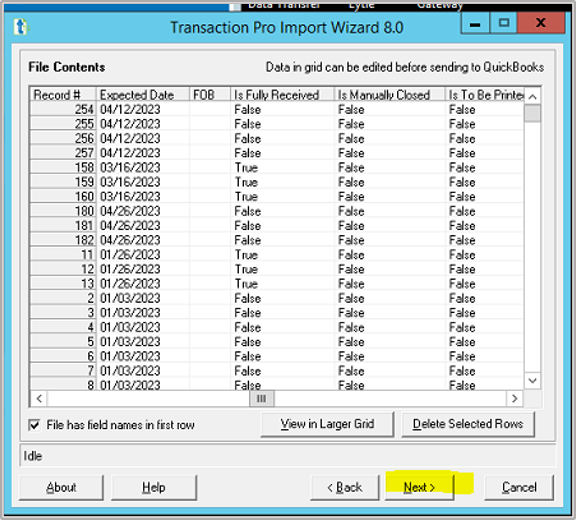
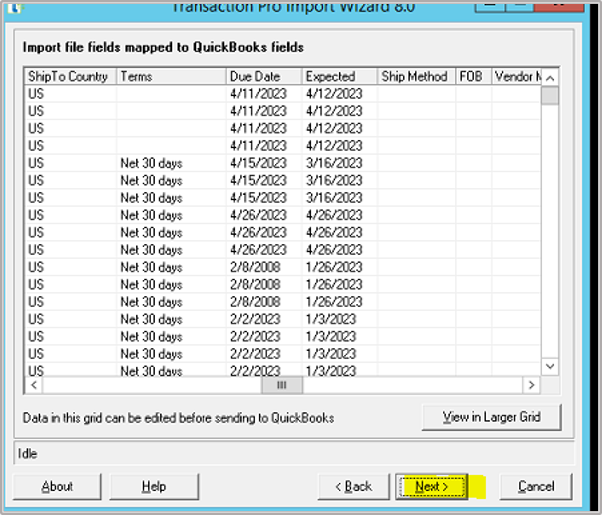
Preview the data and click Next.
Enter your field mappings. In the Import File Column, you will enter the header for the column that matches the QuickBooks Fields list.
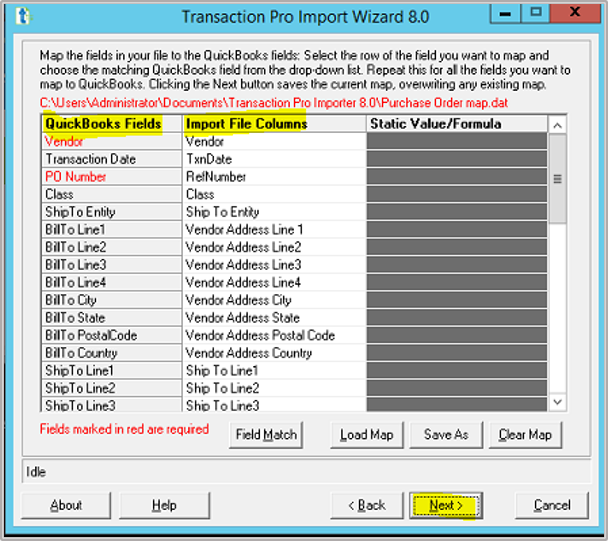
Transaction Pro will review the mappings and match them.

You are able to preview the data before importing. Here you will want to confirm that the mappings you set in the previous screen are showing correctly. Click Next.
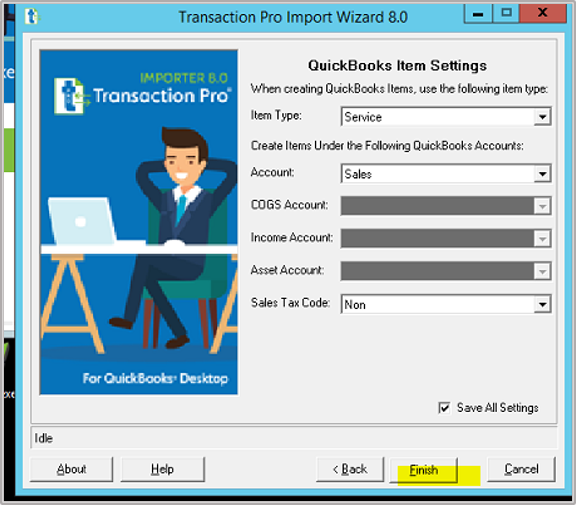
QuickBooks Items Settings: Can proceed with default settings, or you are able to update according to your Chart of Accounts and settings.
Click Finish
Click Ok
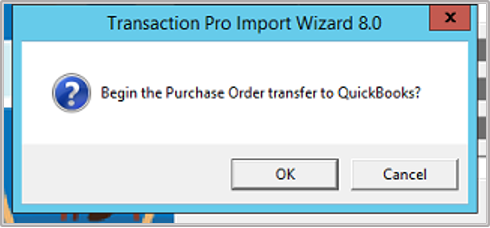
Data begins being validated by Transaction Pro.

Data is importing.

The screen will show any records that failed import and any reasons for failure. If any failures are received, correct and reimport ONLY those records.
You will repeat these steps for all transaction types. Be sure that you import them in a logical transaction order so the correct transaction links can be generated in the file.
Make sure you verify your data once completed.
Now your two company files have become one!